Unity tutorial 1(14) - Ruby's Adventure tutorials 1-4
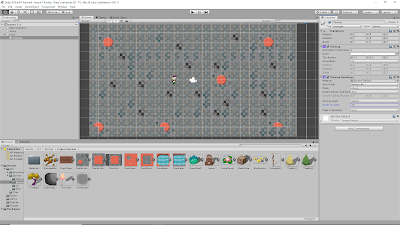
I have completed this weeks unity tutorials which were Ruby's adventure tutorials 1-4. The first tutorial was setting up the Unity workspace. I found this tutorials very easy as last semester we used went through a similar tutorial for the 3d work the only main differences where using a one screen setup instead of two as the game is in a 2D environment and therefore doesn't need a view of what the player will see as it is the same view more or less. The second and third tutorials was all about the main character and the setting up of the script to get the main character to move like the first tutorial I found this quite easy as I had learned this previously with a 3D environment therefore I was just dropping the Z axis from the equation so to speak. I had a minor issue with getting the character to move on the Y axis however after re reading the instructions a second time I realized my error. The finale tutorial is where I had some issues as firstly I had never done anything with Tilemaps before and secondly when trying to repeat the steps 9 and 10 on the other tilemaps unity would not let me slice the images so after a couple of minutes of trying to figure it out I gave up and decided to finish the following steps with the tilemap that I got working. The below is a result is as such it could be better but considering unity wouldn't let me repeat the steps I'm happy with the finale product for now.


Comments
Post a Comment